5 Steps to Replace Your 1" Air Filter
If spring cleaning is a rite of passage in your home, you probably have a set routine for what gets cleaned and what doesn’t. One item that may not be on your list is your heating and cooling system’s air filter. Generally out of sight and out of mind, your HVAC system’s air filter provides two important benefits:
- It helps keep the air in your home a little cleaner, reducing the buildup of dust on furniture, and enabling you to breathe a little easier
- It helps reduce buildup of dust and dirt on your HVAC system’s internal components so the system operates more efficiently
Left for too long, a dirty HVAC system air filter can reduce your comfort, reduce heating and cooling energy efficiency, make your system work harder, and in more extreme cases, cause the system to shut down completely when air flow is severely restricted.
The good news is, replacing your home’s air filter is, in most cases, easy to do, inexpensive, and not overly time consuming. Here’s how to replace your air filter:
-
Locate the filter: For most heating and cooling systems, the air filter is located in your home either in a basement, utility closet or garage, attached to the blower section of your air handler (usually a furnace or fan coil).
- Sometimes it’s inside the furnace or fan coil cabinet
- Sometimes it’s outside the cabinet in the return air vent with its own separate access panel or door
- Turn off the system: You can turn off the system using the thermostat settings, or by using the power cutoff switch typically mounted on the side of the furnace or fan coil (often looks like a light switch).
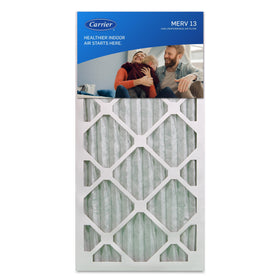
- Remove & inspect the filter: Before removing the filter, ensure the system is turned off and note the direction airflow arrows are pointing, if any. Remove the filter and inspect. If there is obvious buildup of dirt or dust, or you can’t see light through the filter, it’s time to replace. You can buy a replacement by contacting your local Carrier® HVAC contractor. If there is only light buildup or you can see light through the filter, use your judgment. Inexpensive, 1-inch filters should be replaced every 2-3 months. 4-inch media filters can last up to 1 year but should be inspected every 2-3 months.
- Replace the filter & cabinet door: Carefully slide the new filter (make sure that the dimensions match) into place, with airflow arrows oriented properly as noted in step 3. Close or replace the air handler cabinet door or filter cabinet door.
- Restore power: Turn on the system at the thermostat or using the power cutoff switch located on the side of the furnace or fan coil.
Once you get into the habit, you’ll find that heating and cooling air filter replacement is an easy, inexpensive way to help keep your home, and your HVAC system, looking good and operating at its best. Changing your air filter on a regular basis will help keep your system working properly. Learn how often you should change your air filter on our blog.
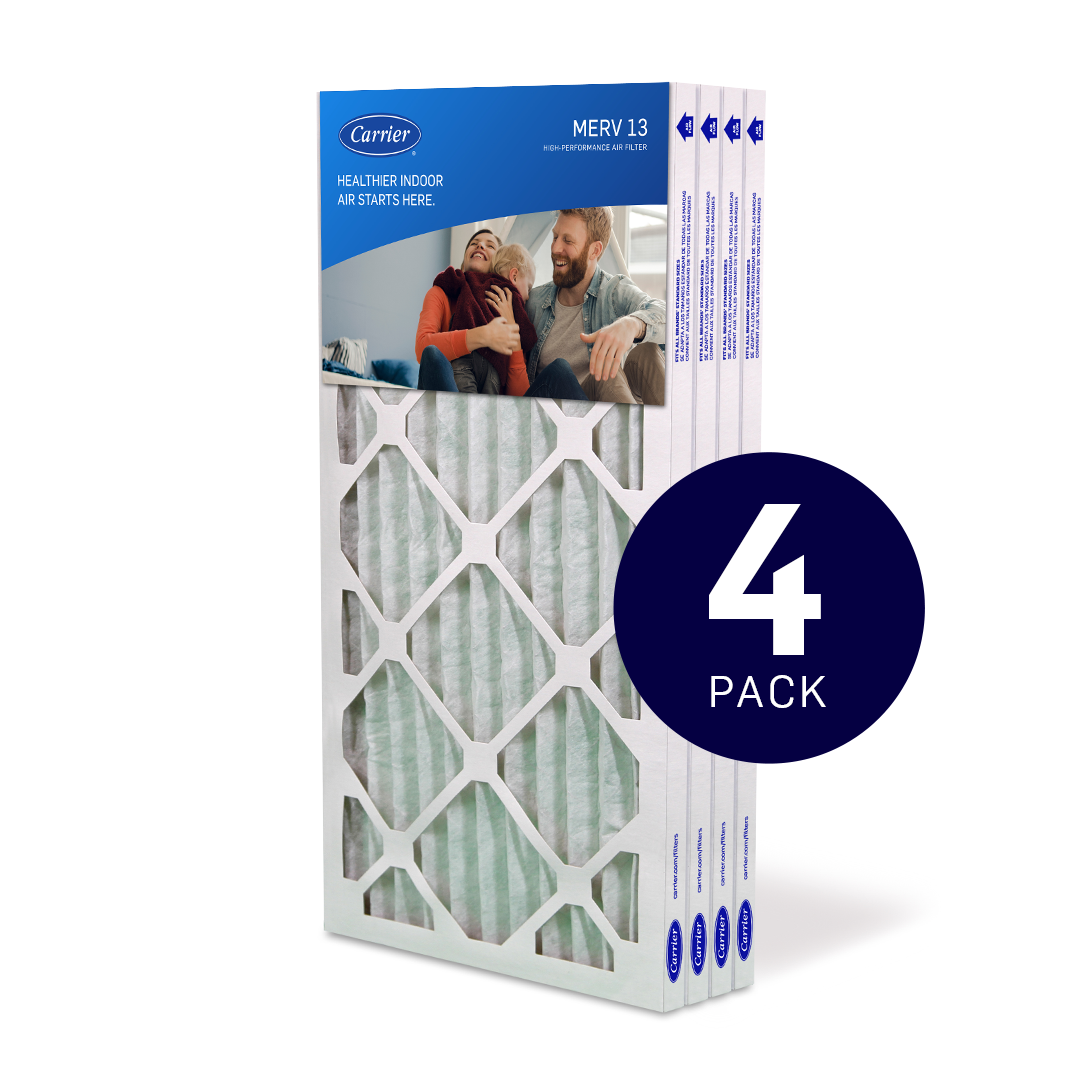
Shop Carrier’s MERV filters, and remember to turn to your local Carrier dealer for the rest of your heating and cooling needs.
Need more information? Learn all about air filters on our blog.

